Showing posts with label before and after. Show all posts

Thursday, June 26, 2014

Warming Up My DIY Skills With The Bathroom


Usually when your mother-in-law comes to visit you don't get to do things like remodel your bathroom.  But she was the perfect partner in crime to help me get my way and get this project rolling.  

Here is another example of me forgetting to take before pictures until I was halfway through destruction.  


So let me give you a little backstory on this before photo.  When we moved in our house Mike told me, I better not come home and there is a wall down.  Ok, no problem! See that spot where there is no paint, that used to be a tall storage cabinet, a nice one, but it was a little crowded there when we were giving the kids a bath.  Since there is a linen closet in the bathroom I really did not see the need for it, so I removed it to another location.  Which would be fine, but what you can't see is that whoever installed this bathroom decided not to finish all the drywall behind the vanity and cabinet, leaving a big hole back there!  This was a few days after we moved in.  So when Mike came home I made sure to tell him that I did not take down any walls, then showed him what I had done.  Hehe.  I stuck a small storage self in front of it and lived with it for as long as I could.  

Here are some more for your viewing pleasure.  Man, bathrooms are pretty ugly sometimes!


All we really did is add beadboard and change the paint color.  We don't want to do too much work, because right now it is a Jack and Jill bath between the master and main living area.  Once we redo the second even uglier bathroom it will become just the master.  

So it turned into a little bit of a challenge though because it turns out the walls and floors were not exactly even, so we had to get crafty with the trim work.  With just that little bit of work it made a huge difference and feels much cleaner in there.  We still need to do a few small little details like the lights and the light switch covers.  At the end of the day though, it's a bathroom.  


My swimming ladies are back! 


Don't tell Mike, but I think I am ready to take some walls down now!  


Friday, June 6, 2014

Dreaming of a Beach Cottage

Since I was a teenage girl, I have dreamed of living on an island someday, it was more like Fiji, but I will settle for the Florida Keys.  I also dreamed I would have a lovely beach cottage to call my own.  So here I am in my late 20's and I think I have gotten pretty close to that dream.  We have recently purchased our first home in the Florida Keys, and it is a canal front, ground level home with beach cottage potential.  


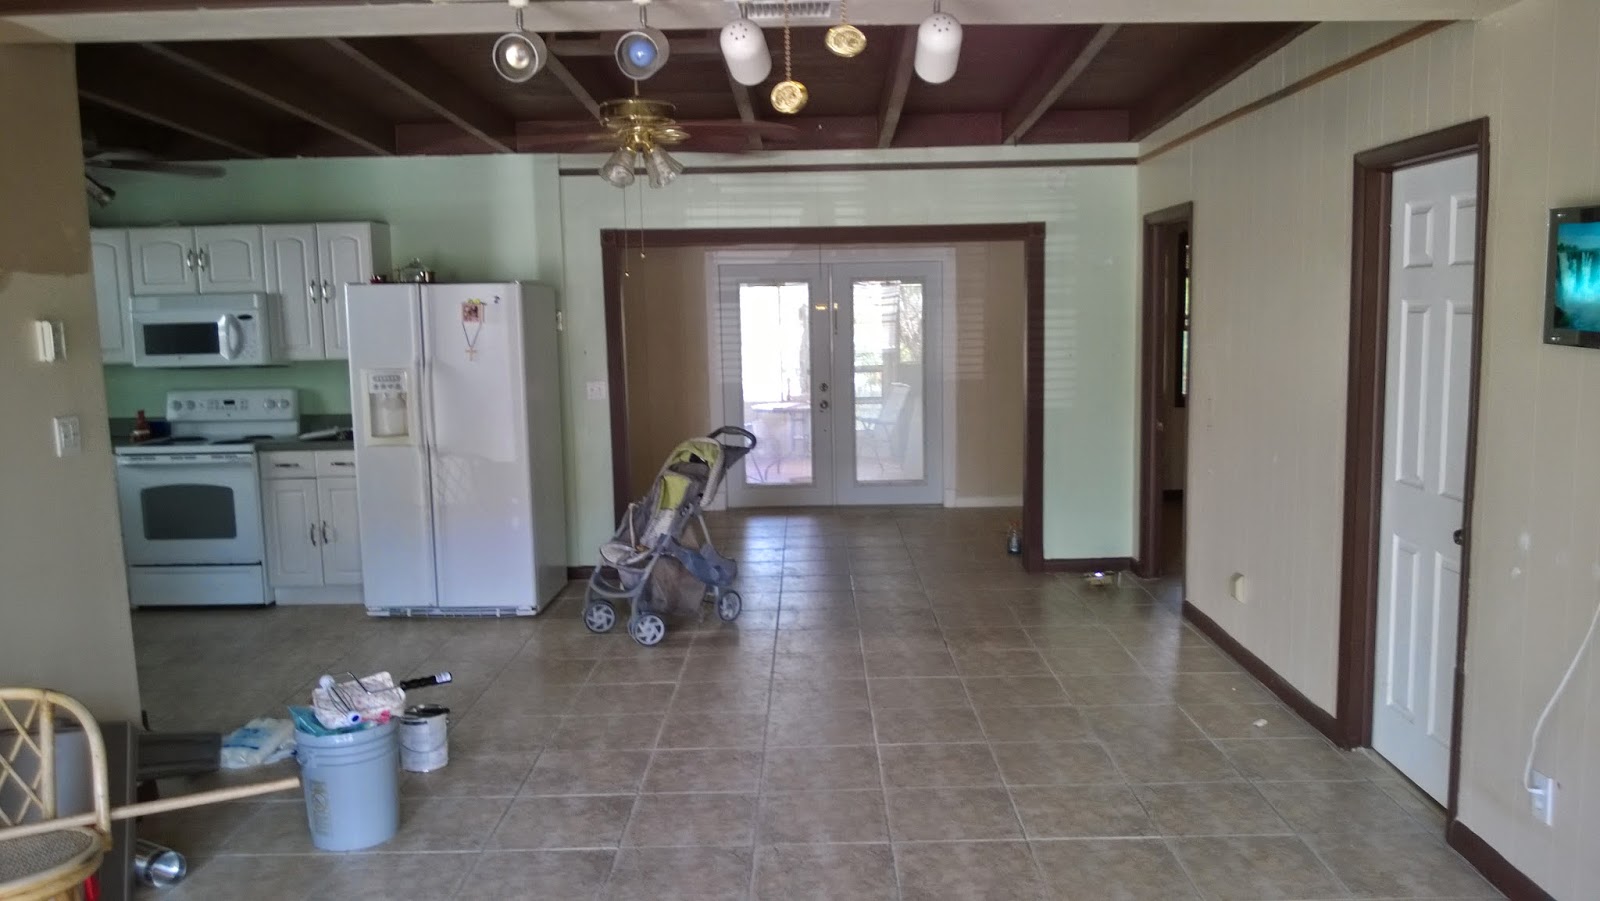
Outside is currently painted an ugly light brown, with an even uglier dark brown trim and a lovely(not really) gravel yard!  That same lovely color scheme had been carried in throughout the entire house!  So we painted the inside white on white right away! My husband didn't believe me when I said paint everything white, but am always right! He also didn't know there is more than one kind of white (this may be a long journey for us).  Anyway, what a difference the change in paint color, furniture and furniture layout can do for a home.  At least the color anxiety goes away after I walk through the door.  It is also getting a little easier to see the potential this home has now that it is more of a blank canvas.  My addiction to Pinterest, Pottery Barn, HGTV, and Coastal Living Magazine also helps!

So I am beginning this adventure and sharing it with you, as I transform this house into my dream beach cottage.  Here are some basic before and afters of what just changing the paint has done for this house.

Before


After


As you can tell these photos this is from before we moved in and immediately after.  I have rearrange the furniture many times,  purchased and sold a kitchen table, then purchased a new one,  and also fixed up and finished my son's room.  So there will be many more before and afters to come.  I can't wait to go completely Coastal Living Magazine on this place!  In the meantime, I will go back to pinning all my house ideas on Pinterest wondering why when I pin stuff it doesn't magically appear in my home and religiously stalking the mailbox waiting for my Pottery Barn catalogs and Coastal Living Magazine!

Wednesday, May 29, 2013

Weekend Project - Before & After

This weekends Before and After, while the other half was at work.  I know he half expects something to change while he is at work.  You just never know what it is.  Anyway - this old dresser in my son's room needed a face-lift.  And I was finished by lunchtime!

The Inspiration - 

The dresser is from Pottery Barn Kids at a cost of $699.  http://www.potterybarnkids.com/products/speedboat-2-drawerchest/?pkey=cdressers-nightstands&
In a few years, after this dresser is completely kaput, I would definitely invest my dollars in something like this, because it is quality made.  In the meantime, I have to use what I have.  I chose to do a Navy Blue top instead of the brown because it fits better with my sons room.  I think a dark gray or even black would be nice as well.   

The Process - 

I would never paint an old piece of furniture that is made of real solid wood.  This is just veneer and it was starting to peel.  To fix the veneer, glue them back down with some wood glue, then I fixed the missing pieces with some filler and sand it smooth.  Always do the job right for the best results.  I lightly sand to give the paint something to stick to.  Remove the drawers & hardware before painting.  I used silver spray paint to update the hardware.  Use tape if needed for clean lines.  

Other Helpful Tips - 

Like I said before - I would never paint a quality solid wood piece of furniture and be careful - some veneers are made from quality pieces of wood like redwoods, etc.  You don't want to cover up the beautiful grain of something like that.  A refinish/stain job will do just fine. 

Ask if the paint store has some paint that have been mis-mixed or left behind.  The cream paint for the dresser was $3 because it was mis-tinted.  It was an outdoor paint but that is perfectly fine for a piece of furniture, maybe even better.  

I have found that using a semi-gloss with a primer requires less coats, lasts a little longer, sticks better and cleans up nicely.  The outdoor paint worked well, but requires more coats and was harder to clean of my hands.  

Always do a light sanding to give the paint something to stick to.  Nothing major, just dust of the top layer.  

Change up the hardware for fun, I wanted to use small cleats for the drawer pulls to give it an even more nautical look, but needed my other half's help.  Waiting for him to help me with a project is like waiting for it to snow in Key West...it's just not gonna happen! 

Don't go crazy - Although I love to change my look and paint furniture, not all your furniture in the house should be painted.  Having a few solid wood and quality pieces really makes colors pop.